Fall pampered feet are not something one thinks of when thinking about Autumn. It’s one of my favorite seasons with the different textures, colors, and fashions it brings with it. But with how the colder temperatures take their toll on your skin, especially your feet, you need to give them extra attention. This is why your pedicure should be as important as it is in summer, to achieve fall pampered feet. for as much as your feet won’t be seen by many.
Sure, you might not always have time to schedule one in if you’re too busy to make it to a nail salon, but that’s what I’m here for. You see, I am a very picky woman and know how I like my feet to look. And as many times as I’ve criticized someone’s poor work, I’ve gotten cut a few times. But besides that, to avoid dry skin on my feet or extremely cracked heels, I’ve been giving myself pedicures for the longest.
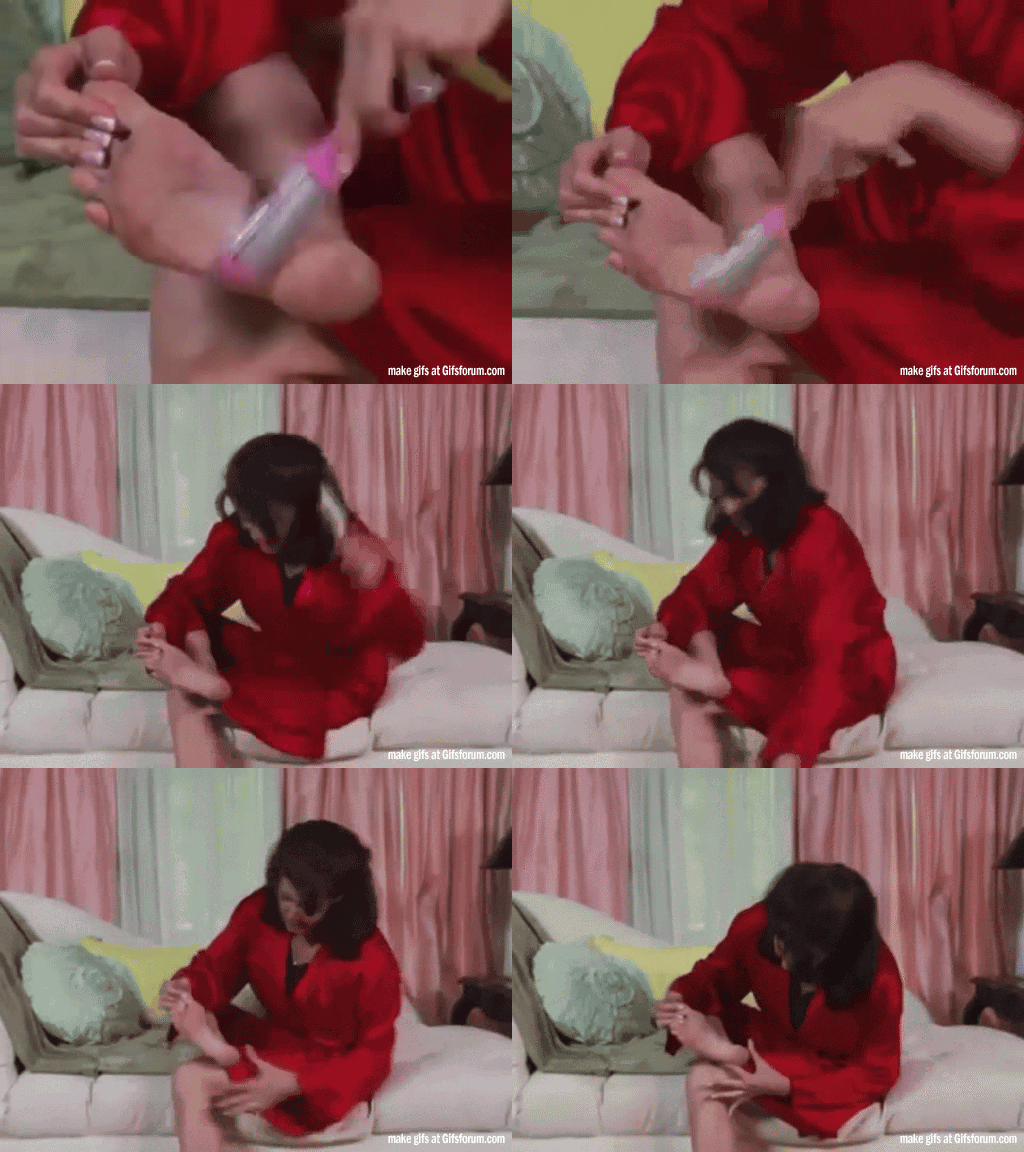
But Is Giving Yourself A Pedicure As Effective?
You might think, “I don’t know what I’m doing,”; “I’d rather leave it to a professional,”; or, “The dry skin on my feet is a real issue IRL.” But, answer me this, with the countless times you’ve seen your manicurist giving you a pedicure, you think you can’t replicate the process? I mean, give yourself some credit, if not, I’ll give it to you!
Now the cool thing about these products I’m going to share with you is I’ve used them all myself. And since I’m being honest, I would never recommend something I haven’t tried myself.
If I don’t take care of my feet, I begin to start calling them hooves. I hope you’ve never been there and these products will guarantee you never have to be part of that underground club. And just like that, I tried and tested products that would do the job, better than good. I live in New York City and with the cold comes the blistering dry heat from my radiator in my apartment which also robs your poor skin of moisture.
Now, when you think of budget-friendly products, this is not what I’m suggesting. Although, I’m sure some have probably tried.

Where To Start In Achieving Fall Pampered Feet
First, grab the tools you’ll need to avoid getting up and walking around with wet feet. What I usually grab is a nail file, toenail clippers, an orange stick, Glad Cling Wrap Plastic Food Wrap, and a towel.
Grab a basin that you can fit your feet in which you will need to fill with water later to soak your feet.
After you remove all of your toenail polish if you have any, you can either file your toenails then or after you’re done with everything.
Step One
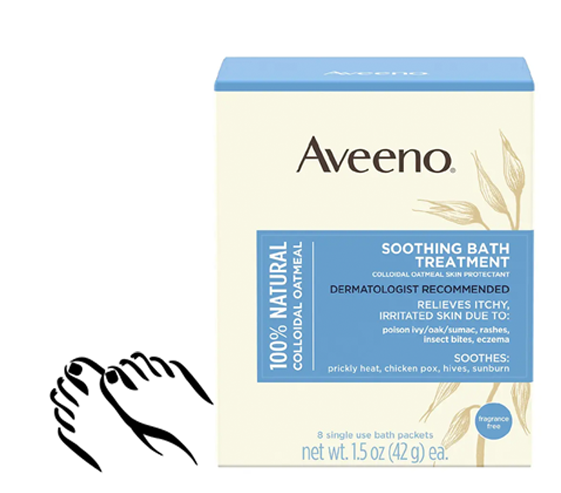
One thing I love to do is to repurpose products like this Aveeno Soothing Bath Treatment (Walgreens). Meant for baths to soothe itchy skin, I use it to soften the dry skin on my feet. I think it’s all due to its main ingredient of 100% colloidal oatmeal, an all-natural skin-soothing solution that attracts moisture to the skin then locking it by performing a protective barrier.
After your basin is full of hot-warm water, add an envelope of Aveeno to it. Stir it in a bit then dip in your feet. If your feet happen to be swollen, add some Epsom salt. Let them soak for about fifteen minutes. (You should also insert the pumice sponge so it can get nice and wet for when you’re ready to use.)
Pull out one of your feet, while leaving the other one still soaking. Take this opportunity to use your orange stick, to push back your cuticles. If unfamiliar, they’re those round blonde wooden sticks with the flat edges on each end. Repeat with the next foot and when you’re done, put them both back in the water for maybe a minute or so.
Step Two
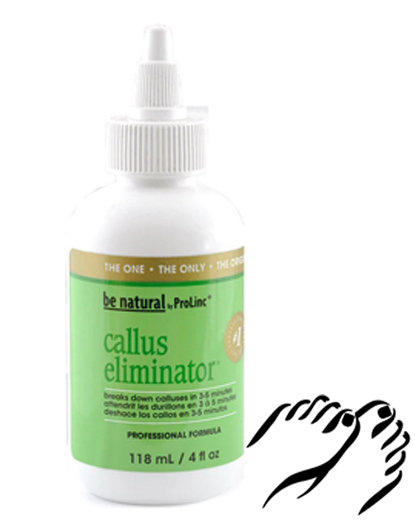
Pull out one foot and carefully put some of Prolinc Callus Eliminator (Walmart) on your calluses and dry cracked heels. This is one of my secret weapons for “killer” fall pampered feet. You might find calluses on the side of your big toe, on the top or side of your little toe, and maybe along the tops or sides of your other toes. Consider yourself lucky if you don’t have any.
Be sure not to get any on your skin that doesn’t have calluses as it might sting or burn. The instructions read to apply with gloves but what I do is use its applicator. Then cover your foot with Glad Cling Wrap Plastic Food Wrap. Bet you were wondering about that one. Leave your foot covered to rest on the floor for 3-5minutes.
During this waiting period, repeat the steps above on your other foot.
Step Three
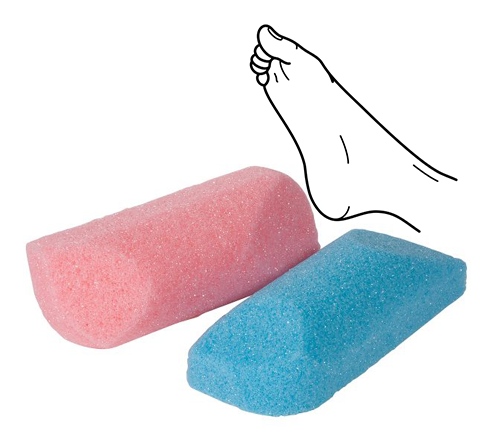
Take the first wrapped foot with the callus eliminator and carefully remove the plastic wrap without getting any on your skin. Then take the pumice sponge (Walgreens) below and start scrubbing the areas with the callus gel until smooth.
Step Four
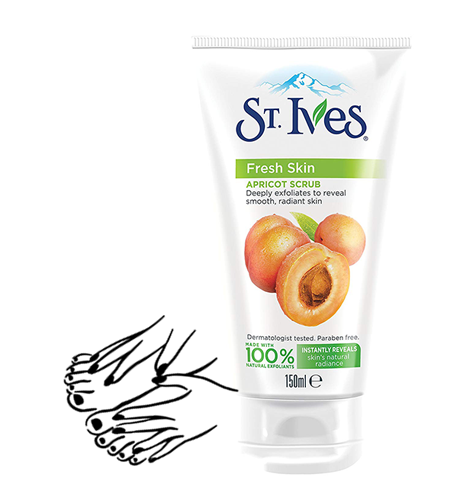
After you’re done scrubbing your foot with the pumice sponge with the callus gel, put the sponge back in the water. Because this callus gel should not be on your skin for too long, break out St. Ives Apricot Scrub (Target) to wash off the gel, gently.
True, this is for your face but it’s a bit rough. Rarely do I use it on my face but love it for my feet. I then wash off the scrub and towel my foot dry.
Repeat this step for the other foot.
Step Five
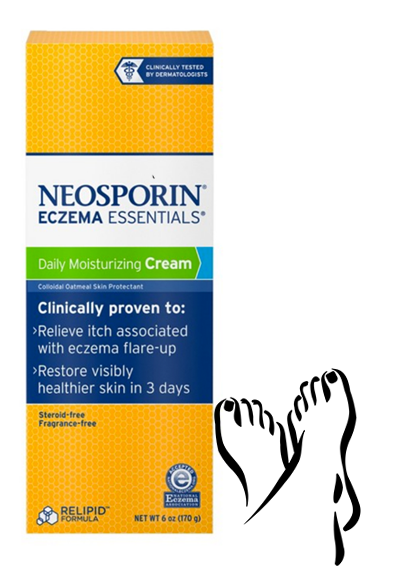
After your feet are dry, moisturize, moisturize, moisturize. As I mentioned before, I suffer from having cracked heels-thanks Dad-and this Neosporin Eczema Essential Daily Moisturizing Cream (Target) is magic. After using it for two nights, I saw a dramatic difference in the look of my feet.
Used for eczema, I love repurposing it for my feet. This is hands down another secret weapon for fall pampered feet.
See, that wasn’t so hard, now was it? And since your feet aren’t huge, these products would last you for several pedicures to have fall pampered feet all season.
If all goes well as it does for me, hopefully, your feet will look as good as these.

Do you have any fall pedicure tips? Leave a comment below.
